To crop or not to crop?
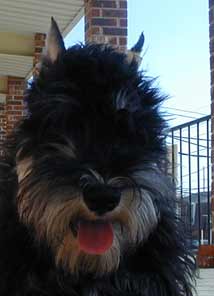
The Miniature Schnauzer is supposed to be ear cropped according to the American Kennel Club breed standard. You can still show a dog that’s uncropped, but it is usually easier to show a dog that is cropped. The ears does change the appearance of the dog quite a bit as seen on the picture above. The two mini schnauzers in the picture are the same age, but clearly shows the difference with or without cropped ears (the miniature schnauzer on the left has natural (uncropped ears), then one on the right has cropped ears).
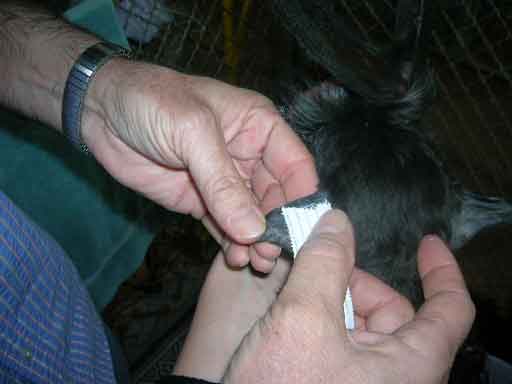
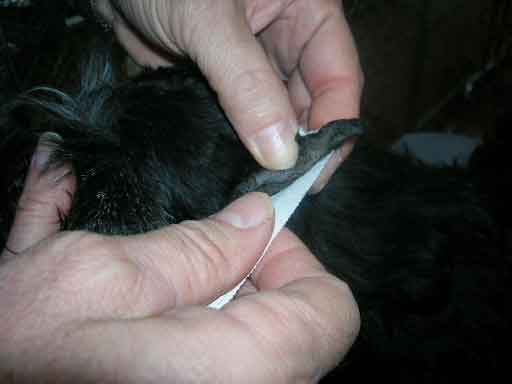
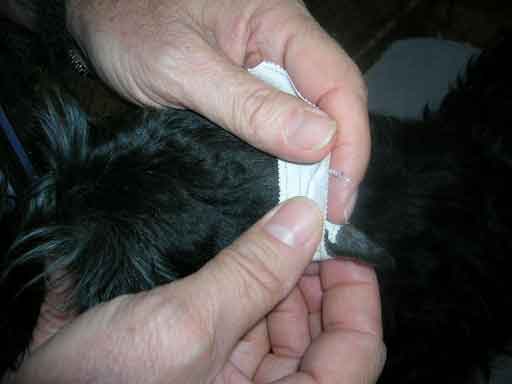
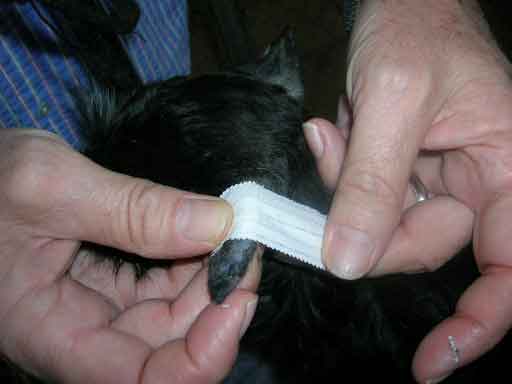
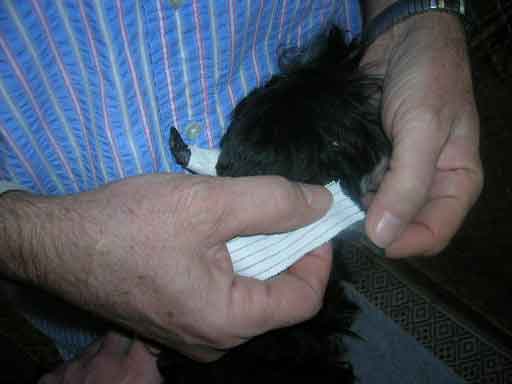
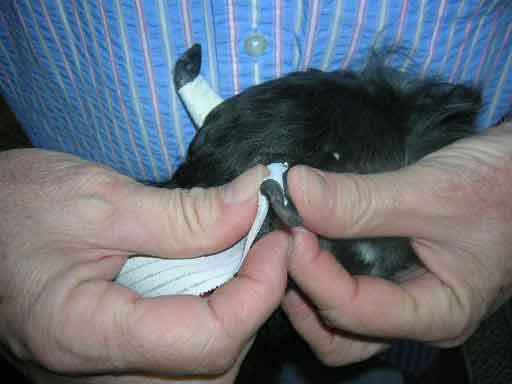
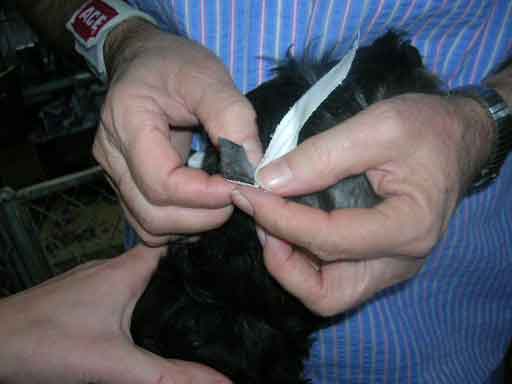
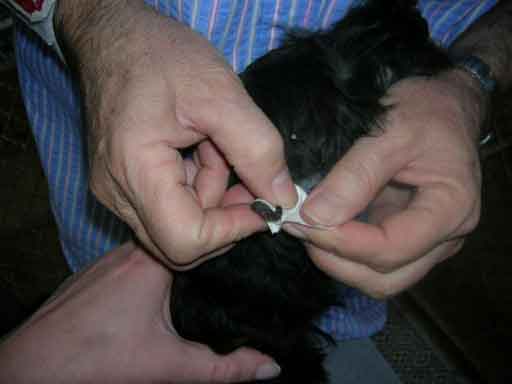
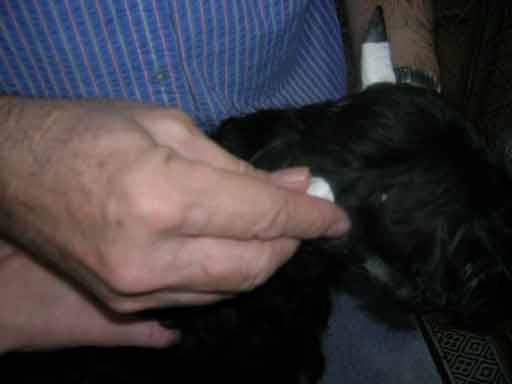
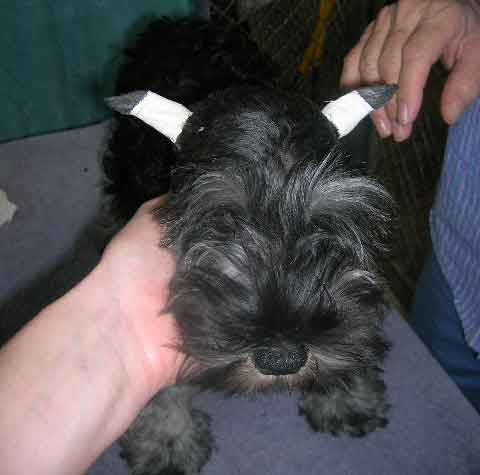
How to tape cropped ears so that they will stand correctly
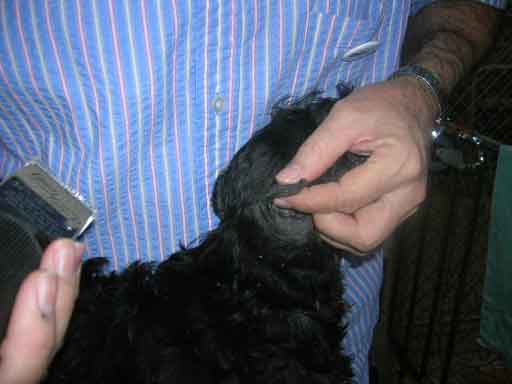
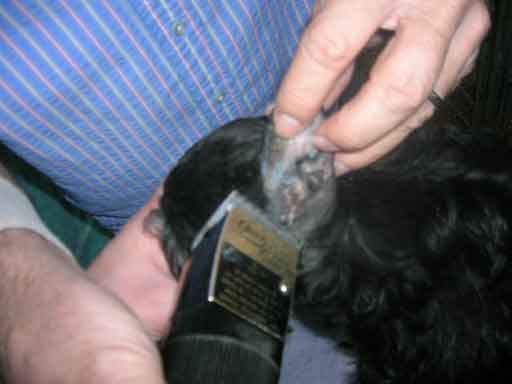
Usually the ears will not stand correctly right after having been cropped. The clue is to keep the cartilage of the ear straight pointing upwards instead of flopping over the head, to the right or to the left. You need:
- Clippers with blade 40
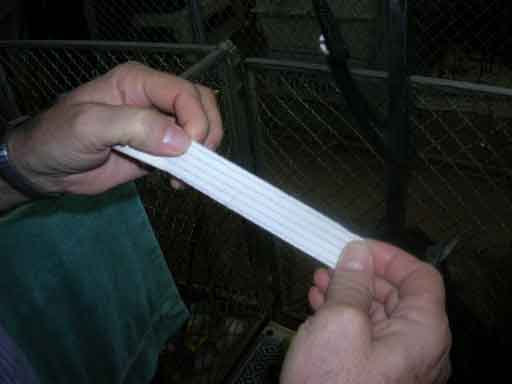
- Good medical tape.
Purchase our great ear-tape here!
This latex free adhesive tape has line porosity for maximum breathability. It is designed to provide high tensile strength and aggressive adhesion, and has pinked edges to allow easy tearing.
1 roll of tape: $ 6.50 (including shipping and handling)


Shave the ear close on the inside and outside (preferrably with a # 40 blade).


Cut a piece of tape about 5 inches long

Put the end of the tape in the outer corner of the ear, all the way down to the skull (start the tape on the top side of the ear immediately behind the curving fold). Wrap clockwise for the left ear and counter-clockwise for the right.

Fold the ear lengthwise, two times. See illustrations below.

When you fold the ear there are three parts but only two folds: one for the front curving fold (1) and the other in the center of the ear (2). The ear will actually fold naturally this way!

The goal is to fold the ear so that the cartilage is held stable.

Tape around the folded ear

Keep the tape tight around the base of the ear. When wrapping the tape around the ear you will have to take little folds to keep it going properly since the base of the ear is wider than the top.

Continue to fold the tape around the ear tightly

-until all the tape is used

One ear taped.

Same ear seen from the side


Same ear seen from behind. You can clearly see the excess tape on the lower left side of the ear – a little fold to keep it going properly since the base of the ear is wider than the top.

Same procedure repeated on the other ear: start by attaching the end of the tape on the outer side of the ear, along the front ridge close to the skull

This time you will be wrapping counter-clockwise for the right ear.

The ear is folded two times.

The tape is pulled around the base of the ear.


The finished result: it should look like two horns.

Before and after taping the right ear (seen from the front). The right ear is tilting over the head of the puppy. After taping it it is tilting slightly to the right which is fine.
Practice is essential! It will not usually look like the picture on the first try. If it doesn’t look right, remove the tape and start over again.
Keep the tape on for a few days at the time, then cut it off and let it breathe for 1 day before you tape the ears again. It is especially important to tape the ears while the puppy loses baby teeth and develops it’s permanent set of adult teeth (usually around the age of 4 months).